How to Create Facebook Ads on Mobile
- Natasha Ablogin

- Aug 15, 2023
- 3 min read
9 Simple Steps to Craft a Compelling Facebook Ad
Step 1: Open Your Business Page
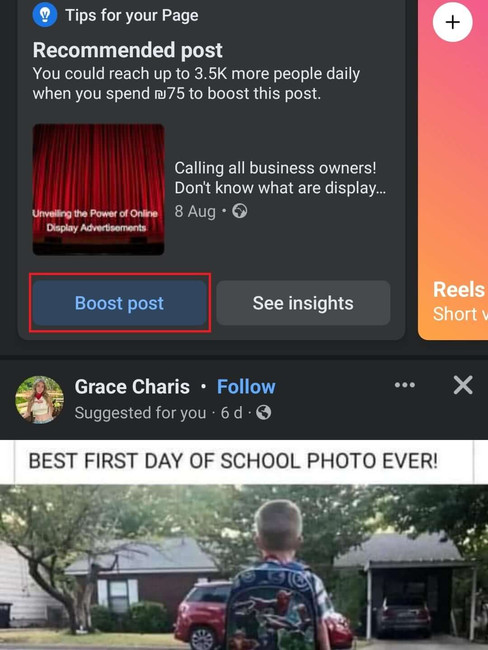
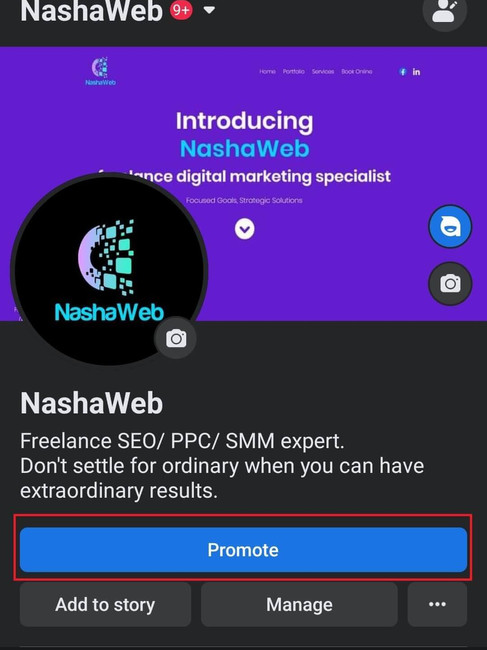
To get started, open your business page on your mobile device. Once you're in, you'll notice a "Recommended Post" section. This is where the magic begins! Simply tap on the "Boost Post" button, and you're on your way to crafting an effective Facebook ad campaign.
But wait, there's more! If you're aiming for simplicity, you can also go for the "Create New Ad" button. For this guide, I'll walk you through the "Boost Post" method, but rest assured, you can use the same principles with the "Create New Ad" option. Let's dive in and uncover the steps to master mobile ad creation.
Stay tuned for the next steps where I'll guide you through the process of defining your goal, audience targeting, budget allocation, and more. Ready to make your Facebook ad campaigns shine? Let's get started!
Step 2: Boost Your Post
After tapping the "Boost Post" button, Facebook will present you with a list of your available posts. Choose the one that resonates best with your campaign's objective.
Now, let's define your goal – an essential aspect of any ad campaign. In the "Goal" section, you'll find a range of options tailored to different objectives.
I chose "Get More Website Visitors" to drive traffic to my site.
Step 3: Call Now, or Maybe Learn More
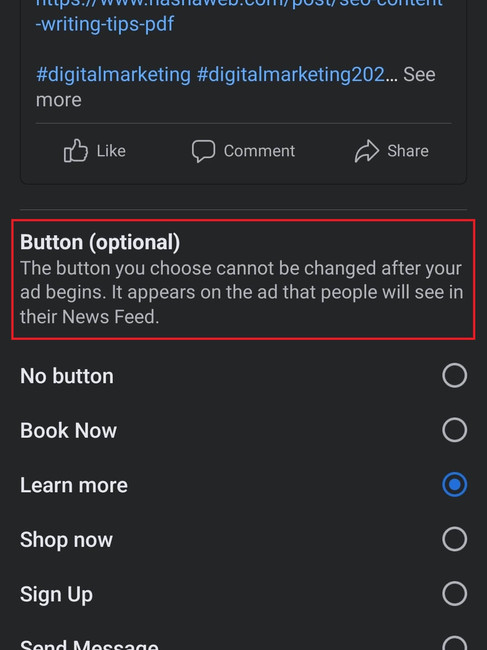
In the "Call to Action" section, there's a pencil icon. Click it to choose the button you want to show on your ad. I opted for "Learn More". Now, if you're unsure about a specific objective like "Call Me" or "Send WhatsApp Message" go for "Learn More"
Research shows that it gets the most clicks – a great choice for sparking curiosity.
Step 4: Define Your Audience
Click on "Create New" in the "Audience" section. A world of possibilities unfolds. Let's start with locations – I selected various cities and even a country to showcase the versatility.
You can also choose locations by using a map and radius selection. Selecting the right locations is crucial for reaching your target audience effectively.
Step 5: Dive into Demographics, Interests, and Behaviors
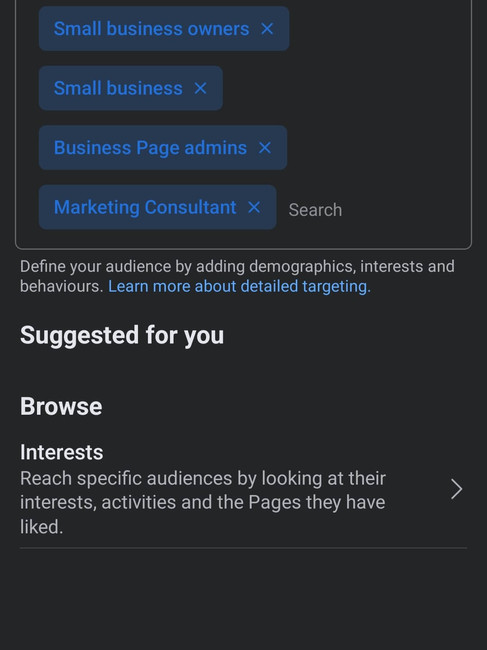
In the "Characteristics" section, you can narrow down your audience based on demographics, interests, and behaviors. I went for small business owners, aligning with my blog's focus on teaching budget-conscious business owners.
Make your choices based on who you want to reach – it's all about delivering value to the right people. You can google "Facebook audience targeting" to learn more.
Step 6: Browse and Explore Interests
The "Browse" button is your gateway to understanding the interests and activities of Facebook users. Get familiar with the options – it's like exploring a treasure trove of possibilities. Want to dig deeper? The expanded "Browse" section has tabs that reveal even more interests to target.

Step 7: Age, Gender, and Audience Definition
In the "Age" and "Gender" section, I went for a broad group to ensure my valuable content reaches a wide audience.
Pay attention to the "Audience Definition" at the bottom of the screen – it tells you how many people your ad will reach.
Remember, if you're a local business, you don't always need to go big. You can expand your audience later, but wasted budget won't come back.

Step 8: Choose Placements and Set Your Total Budget
You can choose placements like Instagram and Messenger. Feel free to adjust as needed.
Now, for the all-important budget decision. Look at the "Daily Estimate" of "Link Clicks" and "People Reached".
This gives you a sense of your ad's potential impact.

Step 9: Duration and Monitoring
Next up is the "Duration" section. Adjust the number of days your ad will run, and notice how the "Daily Estimate" changes accordingly.
If you extend the duration, adjust your budget accordingly.
Remember, if you're not running a sale, consider a minimum of one week to gather insights into what works best.
Step 10: Add Payment Method and Launch
Finally, add your payment method – Facebook ensures the process is secure.
And that's it, you're ready to go! Keep an eye on your ad's performance. Facebook will send you stats and notifications, helping you track the effectiveness of your campaign.
In Conclusion
And there you have it – a comprehensive guide on How to Create Facebook Ads on Mobile. Don't hesitate to drop your questions in the comments below, if something is unclear, or you have questions.
Happy ad creating, and let's take your digital marketing efforts to new heights!


Comments